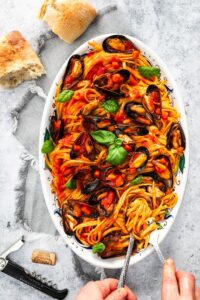
Linguine Pasta with Mussels in a spicy tomato and fennel sauce proves that with just a few simple ingredients, one can create something so delicious. You’ll find it equally suited on a casual …
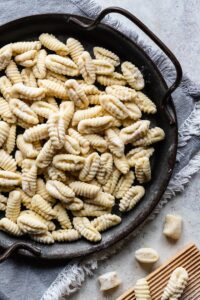
Cavatelli Pasta Recipe
Today I'll show you how easy it is to delve into the magical world of handmade Italian pasta with this easy-to-make Cavatelli Pasta Recipe. And all you'll need are just three simple …

Pasta with Shrimp and Bell Peppers
An easy yet elegant recipe for pasta with shrimp and bell peppers, in a fresh tomato and white wine sauce. It is chockfull of sliced sweet bell peppers, red onion and jumbo black tiger shrimp. …
Penne Pasta With Tomato Tuna Sauce
Penne Pasta With Tomato Tuna Sauce is a simple yet delicious Italian tuna and pasta dish. It's one I grew up with as a child and is still, very much a favourite to this day! It's made with just a few …
Sweet Crispy Pasta Nests
Are you wondering what is a good dessert with pasta? Well how about taking fresh egg pasta and turning it into irresistible Sweet Crispy Pasta Nests! This sweet pasta dessert is deep fried till …
Butternut Squash Paccheri Pasta Bake
This elegant Butternut Squash and Paccheri Pasta Bake will take centre stage at your next family gathering or celebratory meal. A comforting and eye pleasing pasta dish made with oven roasted …
Continue Reading about Butternut Squash Paccheri Pasta Bake →