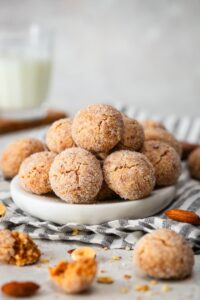
Crisp on the outside with a delightful chewy centre, this Italian Amaretti Cookie recipe is one of many Italian classics that make a perfect addition to any holiday cookie platter. They’re also just …
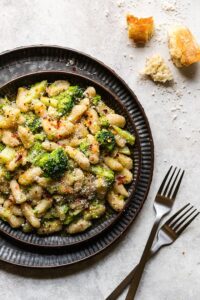
Homemade Cavatelli with Broccoli
Easy to make Homemade Cavatelli with Broccoli is a simple yet classic Italian recipe dish. You'll be happy to know that these fresh handmade pasta noodles can be frozen for later use to have on hand …