These chocolate flavoured homemade cake pops are better than Starbucks. With my step-by-step instructions below, you’ll be well on your way to making perfect cake pops for baby showers or other special occasions.
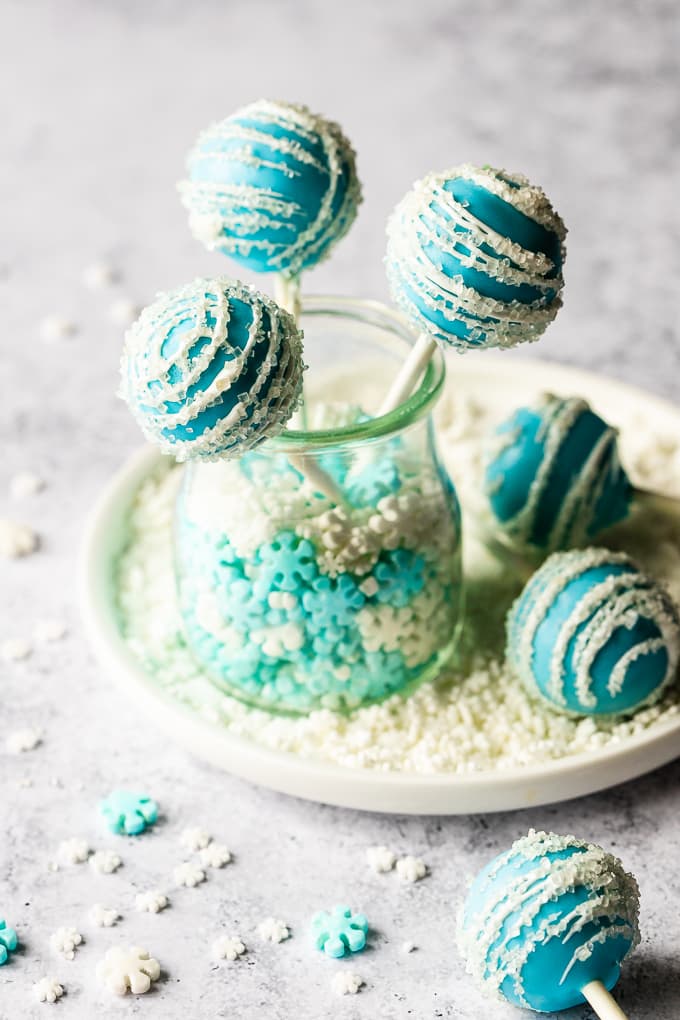
Made popular by the queen of cake pops, “Bakerella,” these sweet treats consist of crumbled cake and frosting which is mixed together to form cake balls.
Then, they’re dipped in melted chocolate and either left plain or you can decorate them to suit a special occasion or event.
I won’t lie, they do require a bit of time but they’re so worth the effort in my opinion. Especially after seeing everyone’s eyes light up at the mere sight of them.
You’ll find them the perfect bite sized cake, so let’s get baking!
Ingredients And Equipment For Homemade Cake Pops
Although you can bake a cake from scratch for this recipe, I find a box cake mix such a time saver. Especially so, considering the amount of time it takes to make homemade cake pops from start to finish. But as a bonus, a box cake mix always gives me the perfect consistency I need to form and shape these little cake bites.
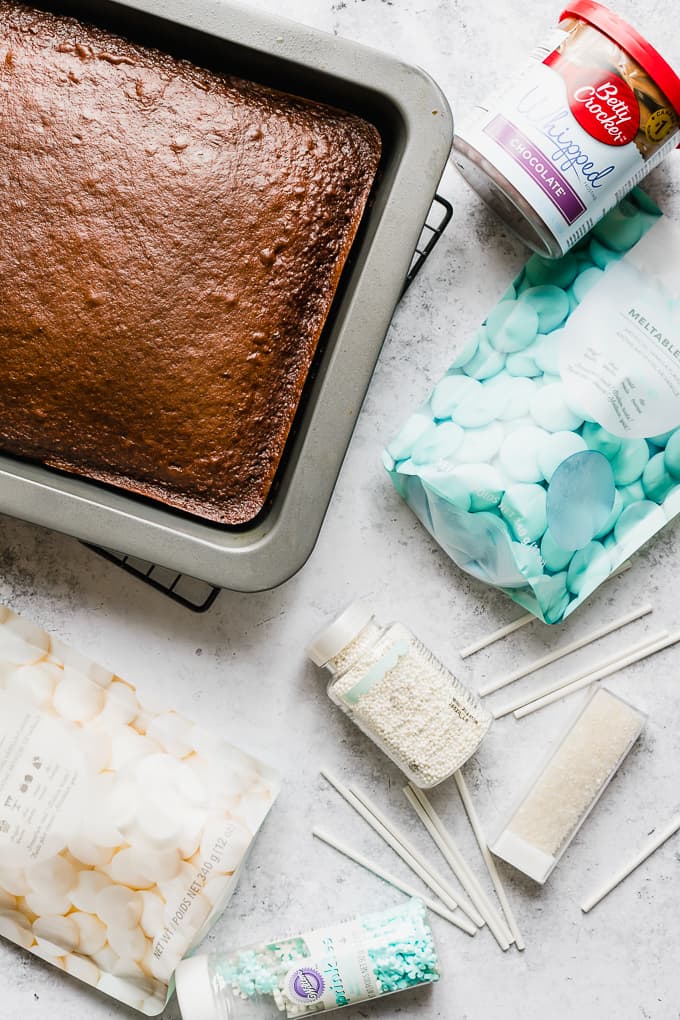
Here’s what you’ll need:
- 1 box cake mix, 432g I used chocolate
- 1 container ready made frosting, 450g I used whipped chocolate
- Blue candy melts 500g
- Bright white candy melts, 500g
- 60 lollipop sticks, 4 or 6 inches long I used the 4 inch sticks
- styrofoam block I purchased at Micheals but you may also find it at the dollar store
- 9×13 in cake pan – greased and lightly floured
- Sprinkles or sugar crystals I used sugar crystals
- Vegetable oil, for thinning the candy melts
- Candy melt squeeze bottle (optional), a small teaspoon will also do
- Styrofoam block (optional but very convenient) mugs or glasses to hold the cake pops will also do
How to Make Chocolate Cake Pops with Box Mix
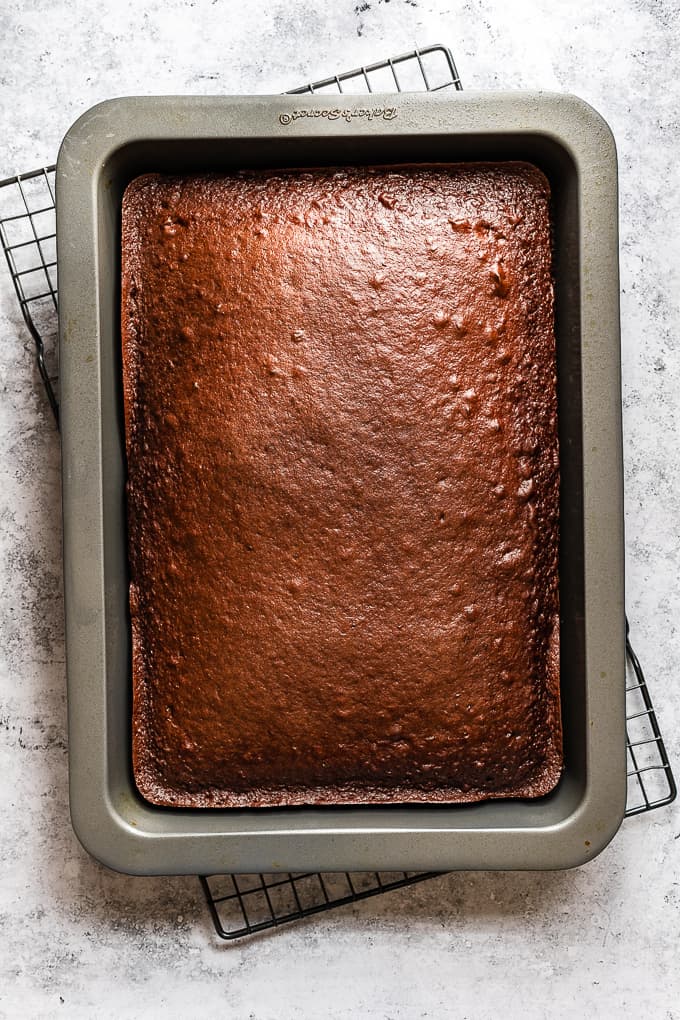
- Bake the cake following the instructions on the box and allow the cake to cool completely. (Can be prepared a day ahead, cooled then covered).
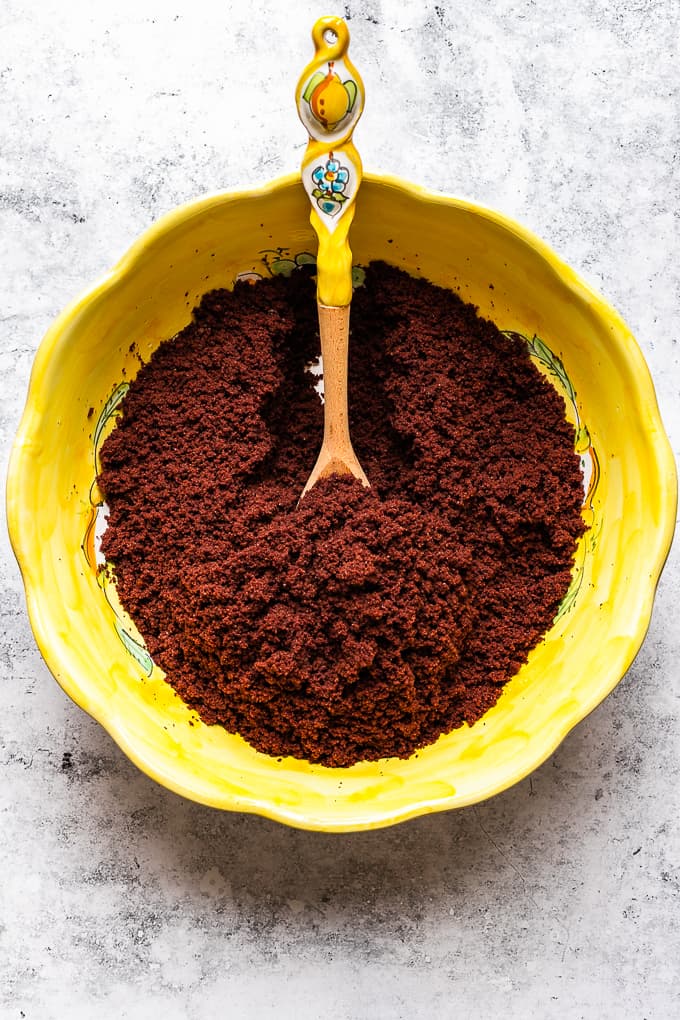
- Next step is to crumble the cake into a large bowl. I prefer to use a food processor for this job. It renders a perfect granular consistency. If you don’t have a food processor, you can crumble the cake using your hands.
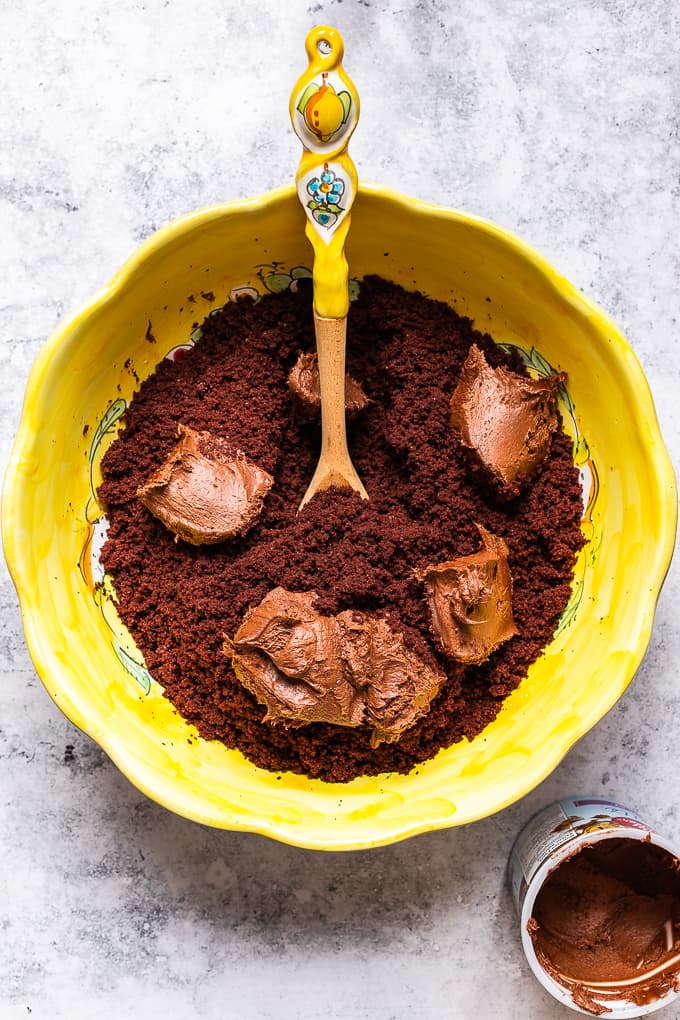
- Using a large spoon, stir in 3 quarters of the icing.
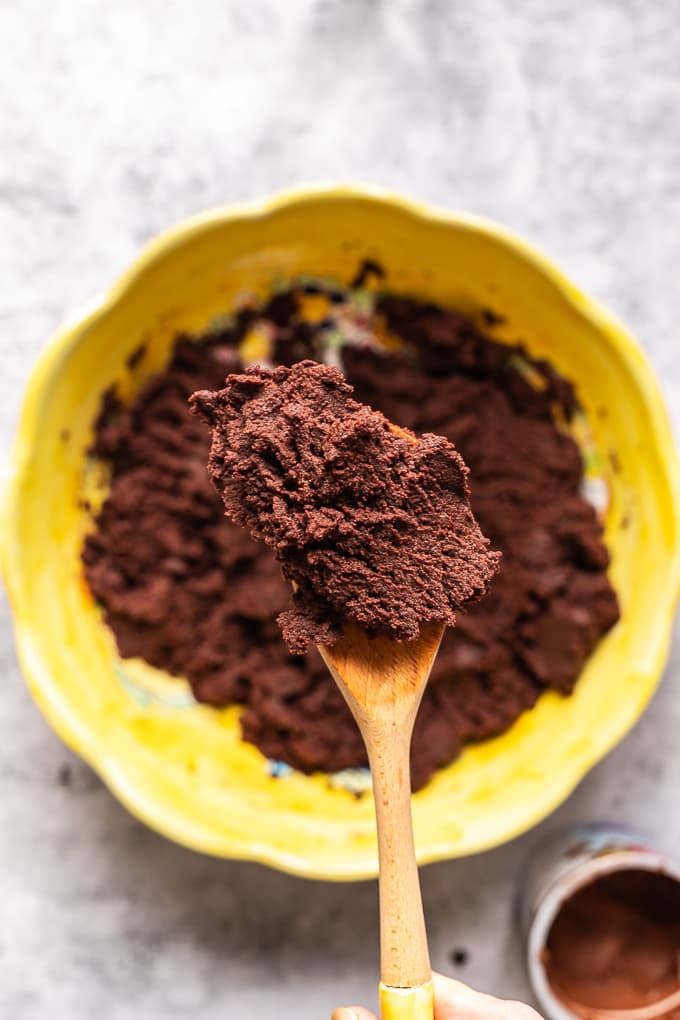
- Mix till well incorporated and no dry crumbs remain. It should look moist and compact.
How to Form the Cake Balls
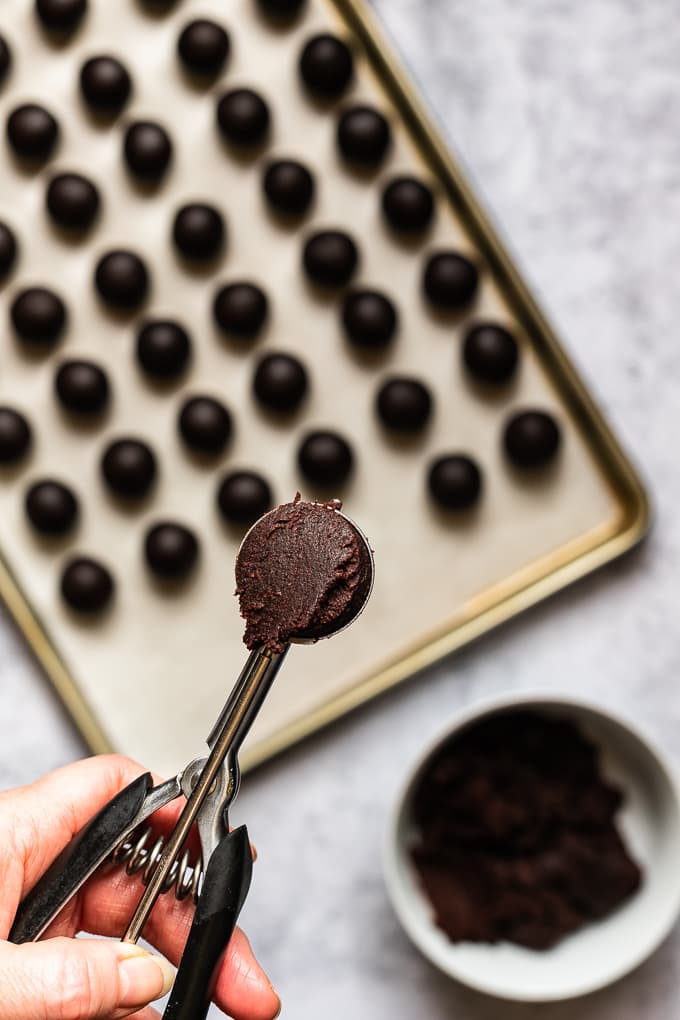
- To form the cake balls, use a cookie scoop of 1 1/4 inch in diameter. Or, a large spoon will also do. Then, round them off with the palms of your hand to form the cake balls.
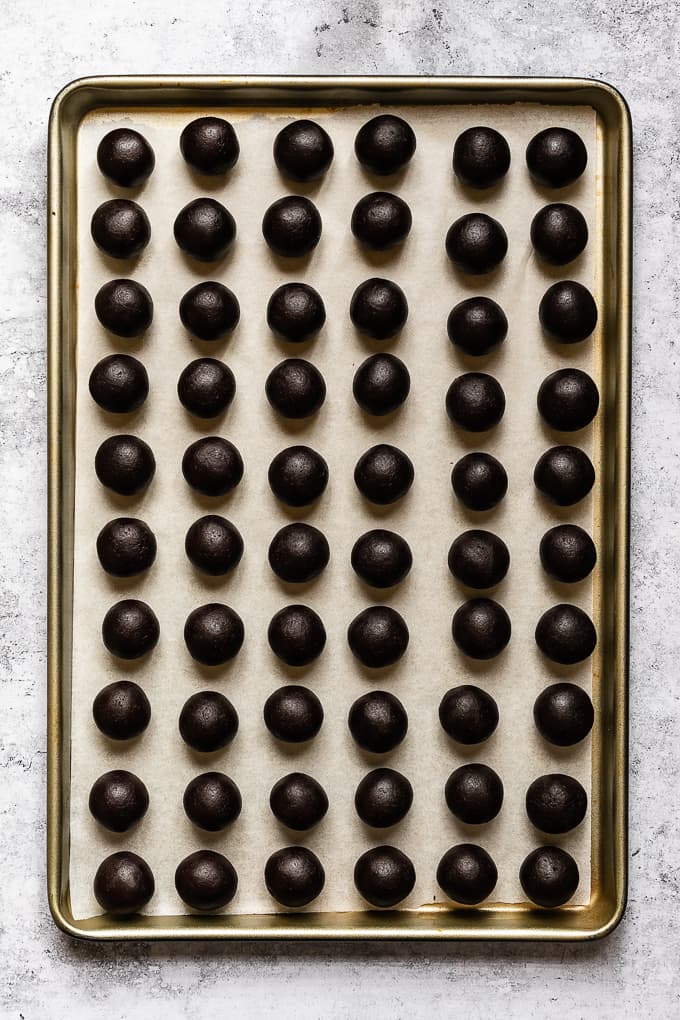
- Place them on a parchment lined cookie sheet and allow to rest for 20 mins. They will naturally expand while resting so don’t skip this step. And will help to avoid cracks in the chocolate once dipped.
- Cover with cling wrap and chill for 4 hours to allow the cake balls to firm up.
Dipping Homemade Cake Pops in Melted Chocolate
Allow the cake pops to come to room temperature for about 20 minutes before dipping them into the melted chocolate. This way the chocolate will set around the cake balls without cracking.
Meanwhile, prep your counter with dipping sticks and sprinkles of your choice.
In a microwave safe bowl, melt the candy coating as directed on package, using a cup large enough and deep enough for dunking.

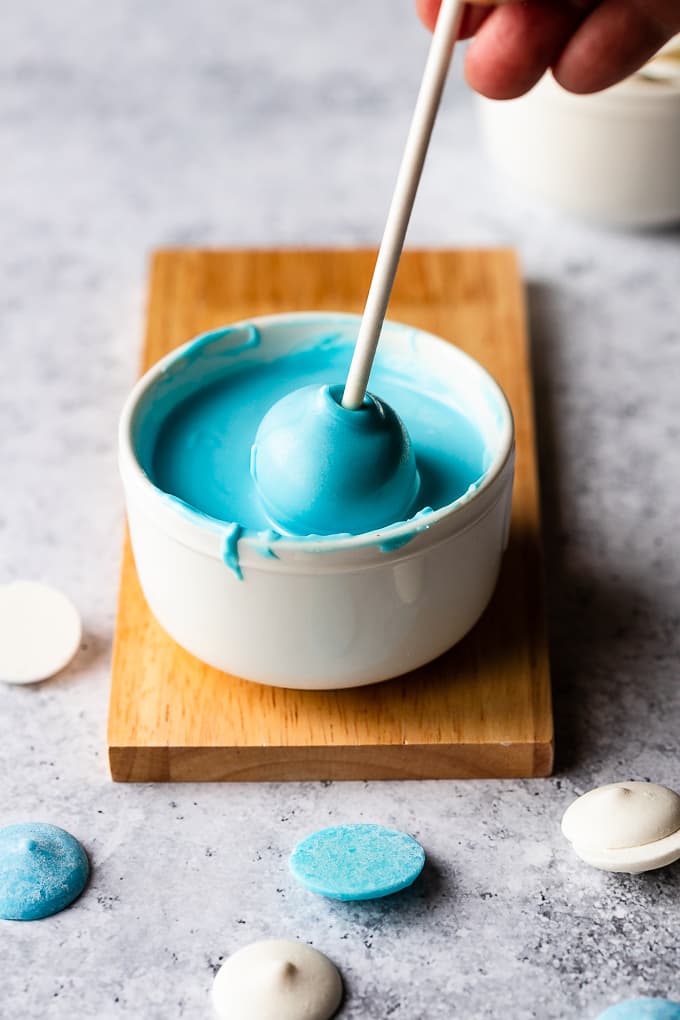
- Working with one cake ball at a time, dip the lollipop stick about a half inch into the melted chocolate and insert into the cake pop not more than half way through.
- Prop on styrofoam block and repeat with the remaining cake pops. This step allows the stick to adhere to the cake pops.
- Now you are ready to dip the whole cake pop. At this point you’ll need to thin the candy coating with some vegetable oil. Use one teaspoon at a time to make the coating more fluid and stir very well.
- While holding the lollipop stick, dip the cake pop into the melted candy coating in one fluid motion till completely covered and quickly remove it.
- Keeping it over the bowl, hold it with one hand while gently tapping it on the other hand to allow excess coating to drip off.
- Gently turn the cake pop till the chocolate is evenly coated all over and the excess chocolate has dripped off.
- Repeat with the remaining cake balls and allow to dry before drizzling with the white candy melts
Thinning the Candy Coating
In between the dunking of your cake pops, if your candy coating has started to harden simply return it to the microwave and heat the chocolate in 15 second intervals. As you’re running low on candy coating, add more candy melts to your bowl and melt in the microwave again, in 15 second intervals.
Thin with a little bit of vegetable oil only as needed and stir till completely incorporated. I like to use a teaspoon at a time.
Decorating With White Chocolate Drizzle
A candy melt squeeze bottle comes in handy when decorating with the white chocolate drizzle. But if you can’t find one, use a small teaspoon.
For easier drizzling, thin the melted chocolate with a little vegetable oil and stir well. Thick melted chocolate will not drizzle well and will only drop off in clumps.
Holding the cake pop in one hand, use your other hand to drizzle the chocolate while twirling the cake pop to coat all around.
Then, before the white drizzle sets, sprinkle the sugar crystals over the white chocolate and transfer to the styrofoam block to harden.

Depending on how big or small you roll the cake balls, you should get between 50 to 60 cake pops. With this recipe I actually was able to make 60. And I didn’t lose any in the warm chocolate when dipping them.
But this comes with a lot of practice and I’ve made thousands of these. So, don’t get discouraged if you’re new to cake pops and yours are less then perfect. I promise, they’ll still be delicious!
Time Saving Tips
Aside from using a boxed cake mix to save time I also divide the steps on 3 separate days.
Day 1: Bake the cake and cool. Then cover and set aside.
Day 2: Crumble the cake, mix in the frosting and form the cake balls. Cover and chill.
Day 3: Dip in the melted chocolate and decorate.
And also if you’re pressed for time, rather than chilling them for 4 hours you can place the cake balls in the freezer for 15 minutes. You don’t want them frozen but just chilled enough that they hold their shape when dipping in chocolate.
They keep very well in the fridge for up to 5 days, stored in an air tight container. They freeze equally well and make wonderful make ahead treats.
Have fun and enjoy!

Homemade Cake Pops
Equipment
- 60, 4 to 6 inch lollipop sticks
- Candy melt squeeze bottle
- Styrofoam block
- 9×13 rectangular cake pan
Ingredients
- 1 432g box cake mix (You can also bake your own cake from scratch)
- 1 450g ready made chocolate frosting
- 500g blue candy melts
- 500g bright white candy melts
- Sprinkles or sugar crystals
- vegetable oil (for thinning the candy melts)
Instructions
Bake The Cake
- Bake the cake following the instructions on the box and allow the cake to cool completely.
Form The Cake Balls
- Crumble the cake into a large bowl. I prefer to use a food processor for this job. It renders a perfect granular consistency. If you don't have a food processor, you can crumble the cake using your hands.
- Using a large spoon, stir 3 quarters of the icing into the crumbled cake.
- Mix till well incorporated and no dry crumbs remain. It should look moist and compact.
- To form the cake balls, use a cookie scoop of 1 1/4 inch in diameter. Or, a large spoon will also do.
- Shape into round balls with the palm of your hands.
- Transfer the cake pops onto a parchment lined cookie sheet and allow to rest for 20 mins. They will naturally expand while resting so don't skip this step.
- Cover with cling wrap and chill for 4 hours to allow the cake balls to firm up.
Adhering The Sticks To The Cake Pops
- Remove the cake pops from the fridge and allow them to come to room temperature for bout 20 minutes. Dipping a cold cake pop in warm chocolate will form cracks on the surface.
- In a microwave safe bowl, melt the candy coating as directed on package, using a cup large enough and deep enough for dunking.
- Working with one cake ball at a time, dip the lollipop stick about a half inch into the melted chocolate and insert into the cake pop not more than half way through.
- Prop on Styrofoam block and repeat with remaining cake pops. This step allows the stick to adhere to the cake pops and makes for easier dipping.
- Let them dry before dipping the cake pops completely into the melted chocolate. It should take just a few minutes.
Dip Cake Pops In Melted Chocolate
- Before dipping the whole cake pops in the melted chocolate, you'll need to thin the chocolate with just a little bit of vegetable oil. Start with one teaspoon at a time. STIR WELL. The chocolate should fall in a ribbon like consistency when poured from a spoon. It should not be too thick nor too thin in consistency.
- While holding the lollipop stick, dip the cake pop into the melted chocolate, in one fluid motion till the cake ball is completely covered in chocolate.
- Keeping it over the bowl, hold it with one hand while gently tapping it on the other hand to allow excess coating to drip off.
- Gently turn the cake pop till the chocolate is evenly coated all over and the excess chocolate has dripped off.
- Repeat with remaining cake balls and allow to dry before drizzling with the white candy melts.
Decorate With White Chocolate Drizzle
- A candy melt squeeze bottle comes in handy to drizzle melted chocolate but you can also use a small spoon if you don't have one.
- For easier drizzling, thin the melted chocolate with a little vegetable oil and stir well. You'll want a drizzling consistency.
- Holding the cake pop with one hand, use the other hand to drizzle the white chocolate over the cake ball while turning the cake pop to coat all over. Place a bowl underneath to catch any excess chocolate.
- Sprinkle with the crystal sugar or candy sprinkles before the drizzle sets. You'll want to do this over a separate bowl to catch the sprinkles.
- Return the cake pops to the styrofoam block and allow to dry.
- Keep stored in the fridge for up to 5 days. Or freeze for longer shelf life.
Very cool mom 🙂
Thank-you, it was a labor of love.
These look very cute.
Thank you , it’s my first post and I welcome any feedback.
Congratulations Marisa! Your first picture is stunning and made me want to read more. Guess who will be happily following your blog?!
Thank-you Cynthia. So happy I got to see you yesterday.
Hi Marisa!! What a wonderful idea. Wish you lots of success! Happy new year to you and your loved ones xxx
Thanks Lina, happy to hear from you. Wishing you and your family all the best for the coming New Year. Xoxo
I died and just went to heaven. I could just eat your pictures. You have no idea how much that just helped me get out of bed to make breakfast:)
Thank-you for stopping by, your comment sure made me smile?
Marisa,
Thank you very much for your recipe for the cake pops. Great idea for a party or a gallery opening.
Again, Thank you!
Your welcome Kathy, thanks for stopping by.
fantastic site!! i will try soon.
BRAVO!!!
Thank-you my dear Demetra! Xoxo